Cart Summary
Now using the yellow string to the right of my background color, I need to make a backward knot.
Now using the yellow string to the right of my background color, I make one backward knot.
On the third row, there are four knots of the background color, then one of the letter color, then three of the background color, one of the letter color, and then one of the background color.
To make my A, I need to make two backward knots with my background color string.
If this is your first name bracelet, keep it simple and pick just two colors: one for the letters/numbers and another for the background.
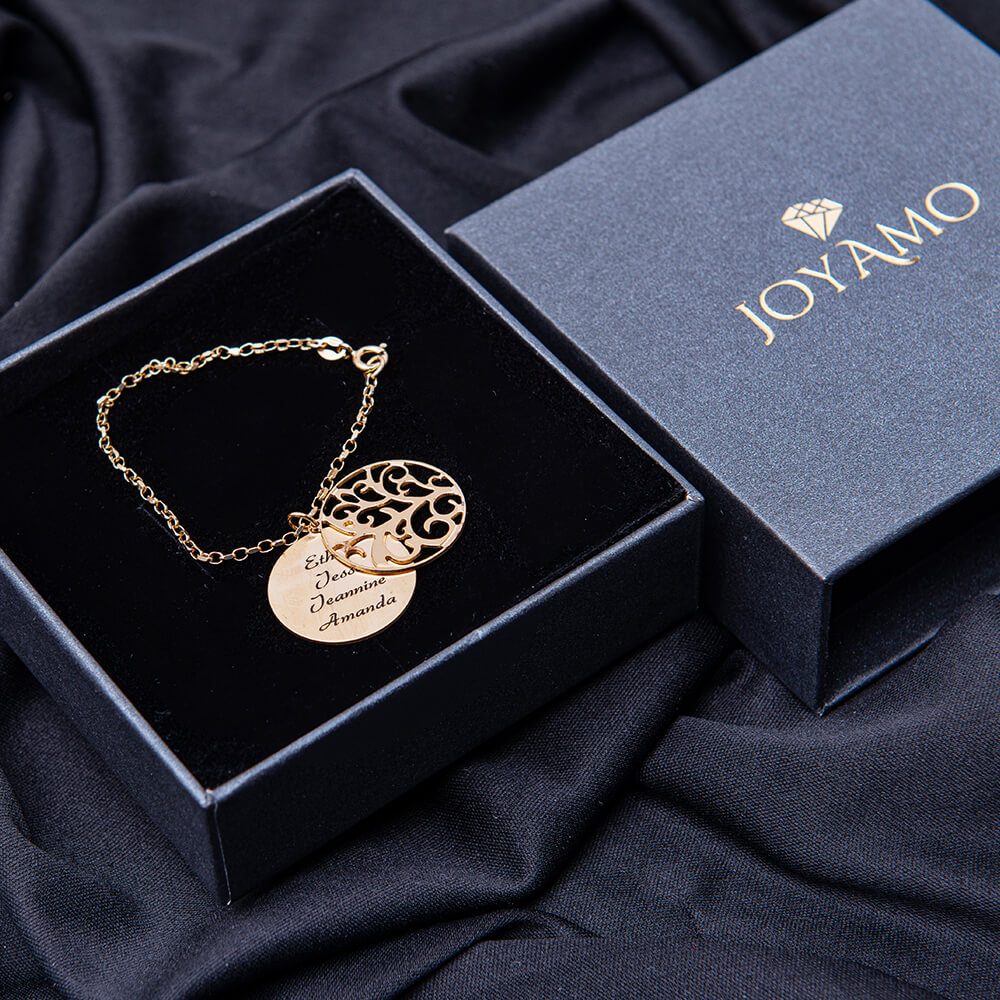
A Pandora bracelet, which is commonly a simple elegant piece with the logo of Pandora at one point, can be made more elegant by stringing different charms to it.
To avoid getting everything tangled, I made myself a simple cardboard loom (instructions below).
You’ll need embroidery thread, scissors, tape, and cardboard (to make a loom).
Embroidery floss: Embroidery floss can be found at any craft store. Embroidery floss can break and it’s a pain trying to work with short strings.
The address can be changed before we ship your orders. However, once we ship your orders, the shipping method or address can’t be changed.
Order Tracking – After your order is shipped, you will receive a shipping notification email.
If there is a problem with your address that caused the package to be returned, then you will be charged for the shipping cost if you require a refund. How long does it take to get them, and what is the cost?
To tie off your bracelet, take all eleven strings and make one knot (the same knot you used before you put the threads in the loom).
After you tie them off, split the eleven strings into two groups, and braid each group.
You can also cut the loop you made at the beginning (not to make it shorter, just to separate the threads) and braid those into three strands.
Leave about two inches of threads at the end and braid them together into three separate strands.
Before doing anything else, make sure you know how to do these two knots.
Make sure that you make your knots tight, but not too tight.
This helps me figure out whether or not to make a backward knot or a forward knot.
After you make a forward knot on that string, put it in the slot to the left of its original slot.
There’s no graph, but you can easily see how and where to put each knot using her pictures of the letters. It’s easy to make other patterns and other things you just write what you want and put the colors on top of each individual knot.
You may find this knot helpful to tie your bracelet onto your wrist later.
Don’t cut your background color thread until the bracelet is done or you run out.
Once you’ve picked your colors, you need to cut your string.
Measure the string from fingertips to elbow.
For a child or slender teen/adult wrist, hold the floss that will be the color of your letters/numbers and measure from your fingertips to your elbow.
For an adult wrist, measure from your fingertips to your elbows and then add another half-length of thread.
Smoothly fitting over the natural arc of your wrist, choose from gold, nameplates, and more.
Early jewelry was made only from gold, silver, and precious stones.
Once you do that, double it and cut that length.
On the top edge, cut a 1-inch slit in the middle.
Place each of the other strings into slits along the bottom of your loom and make sure your background color string is in the slit all the way on the left.
Now, hold the floss that will be your background color and pull out some string.
Now, using the yellow string that is to the left of my background color string, I need to make a forward knot.
This is what your string should look like after you make the knot at the top.
Here’s a really helpful tip: Draw out how your letters are going to look first.
A homemade loom: While making this bracelet, you’re going to have a lot of loose strings everywhere. Join the floss together before making the knot.